
Facts
- Elevation: 1,835 m (6,020 ft)
- Prominence: 338 m
- Peak category:
 Spesial
 - Province:
 Jawa Barat (West Java)
 - Coordinates: -6.8779, 107.7439
- Rating:


 (8 votes) Add your rating
 Loading...
Photos


Bagging It!
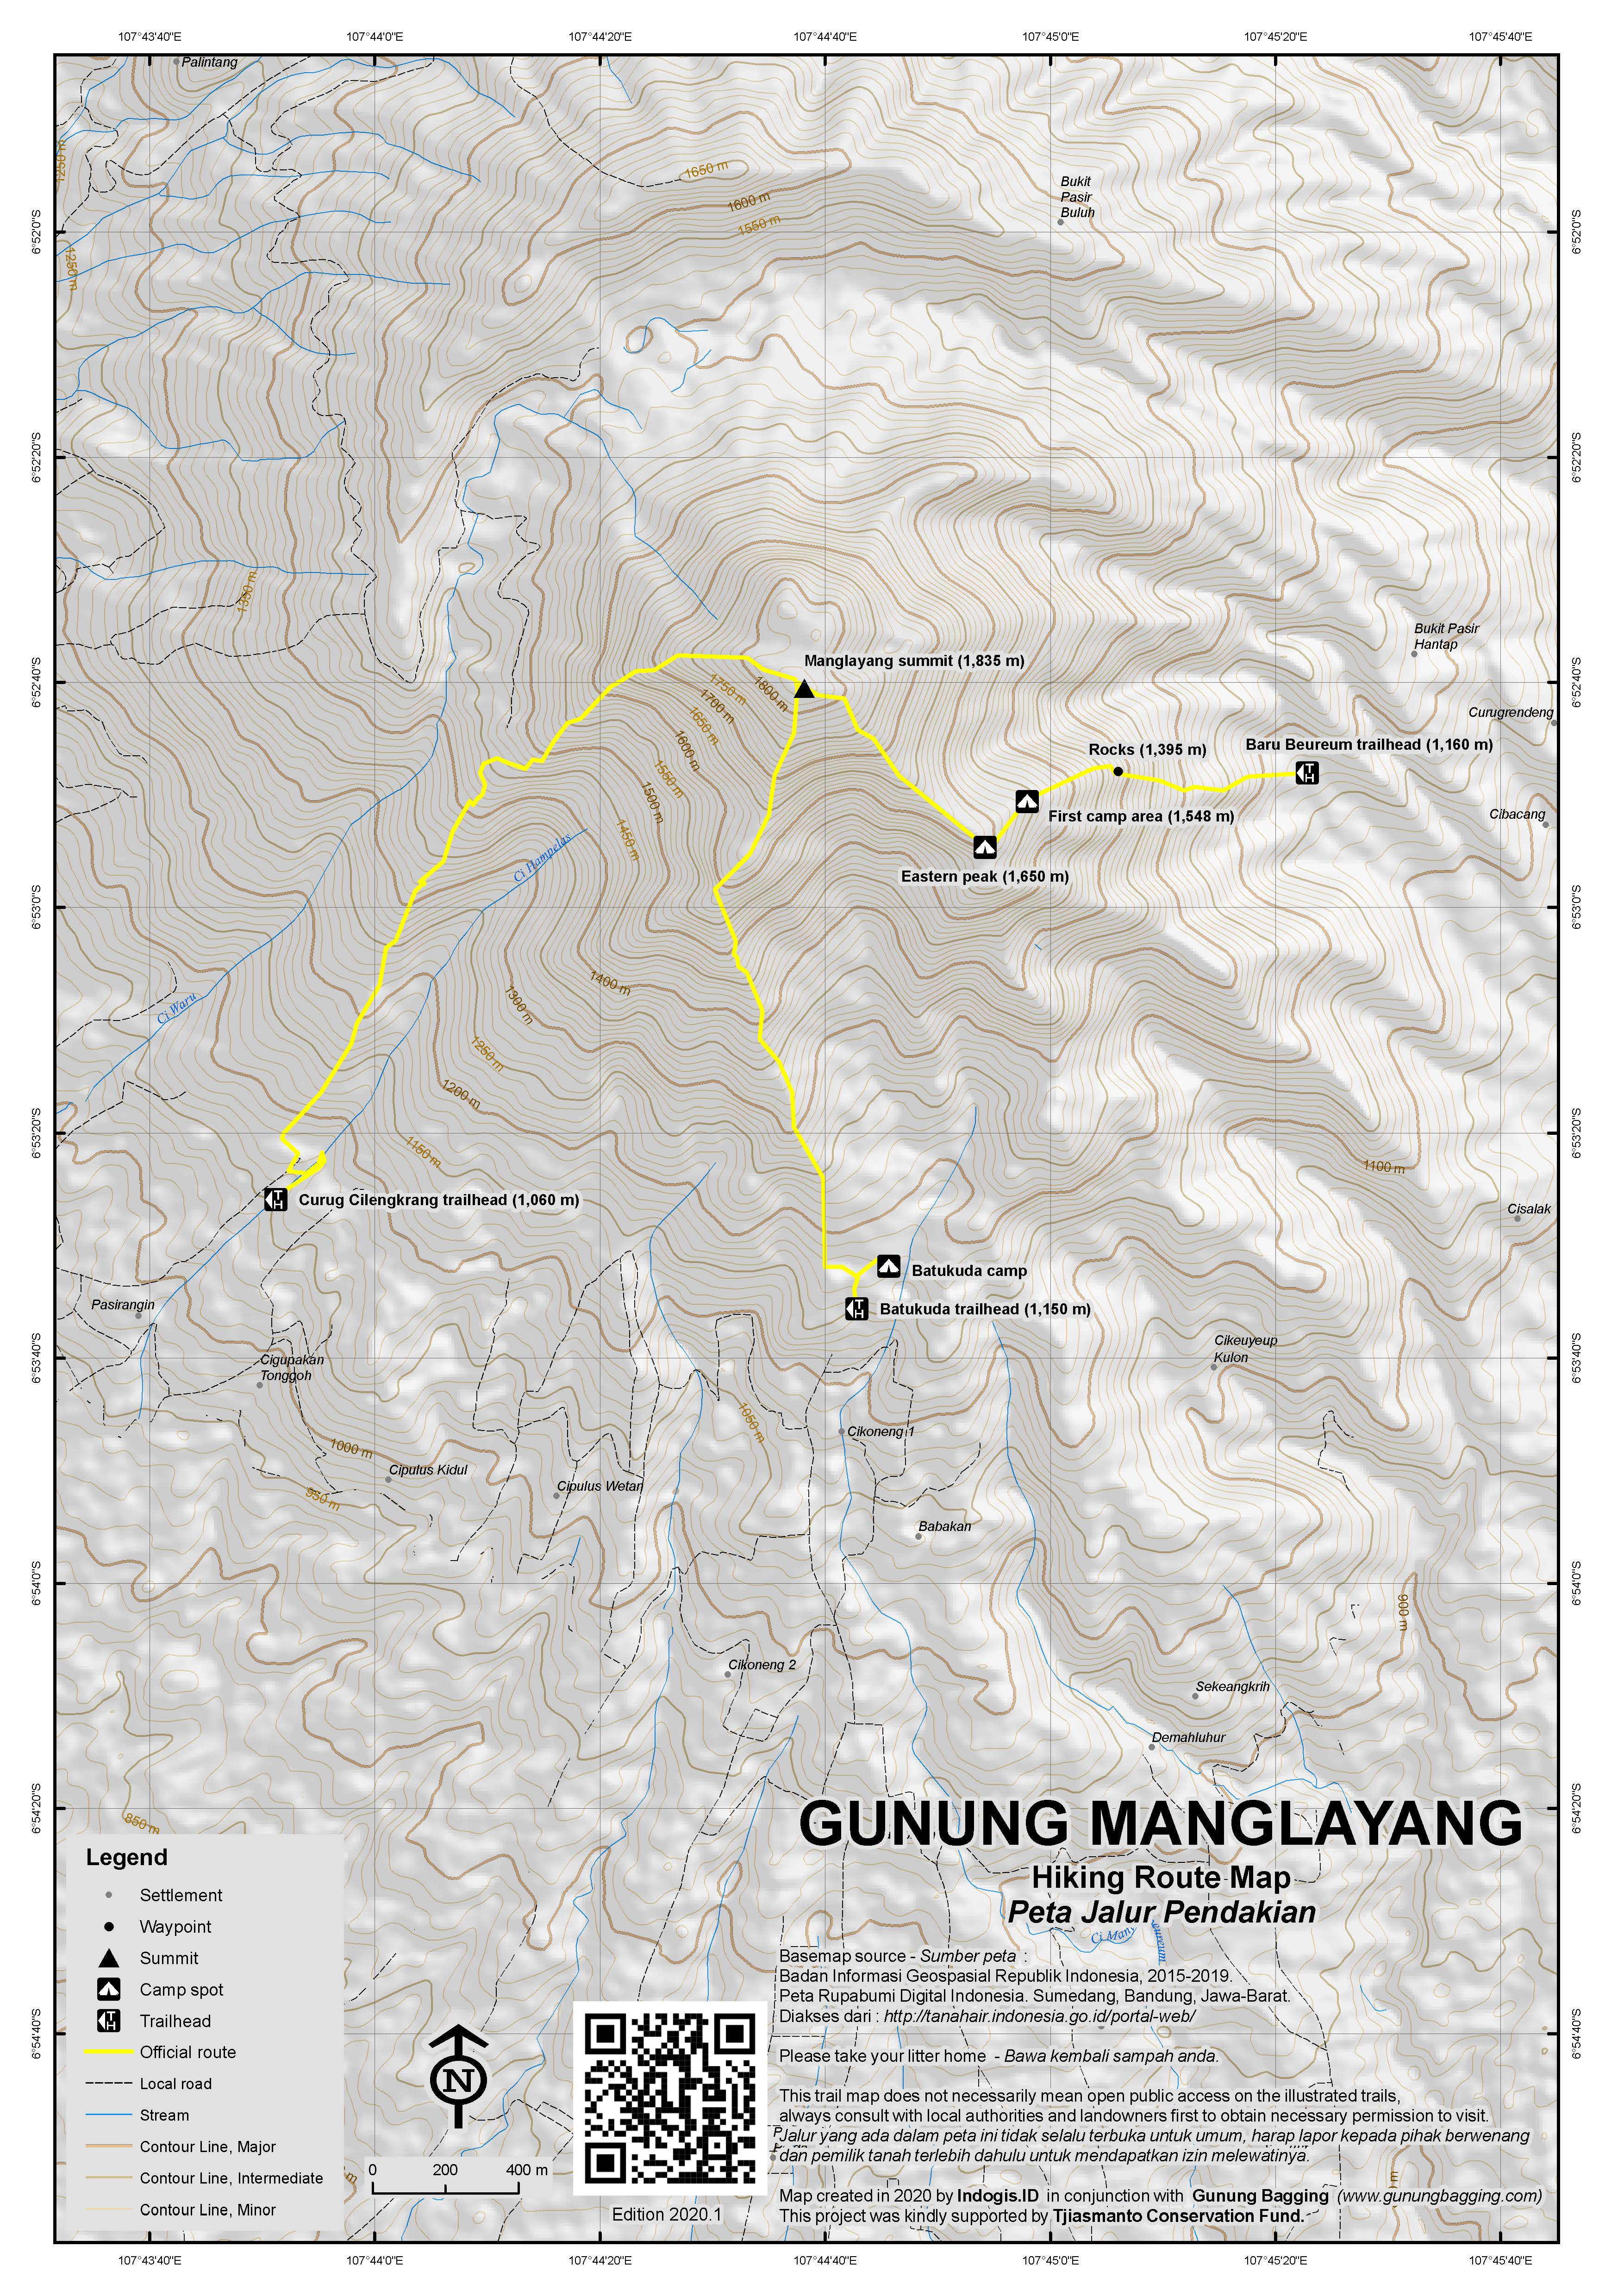
Manglayang mountain is perfect for a weekend day hike as you can climb it without camping overnight. It takes about 2 hours to ascend to the lesser eastern peak which offers wonderful views over the plains of Bandung and just under an hour more to the large, flat summit. The trail is quite slippery and steep at the beginning but the forest is very pleasant as you will always walk under the shadow of the trees.
Looking at the mountain on Google Earth it is clear that this used to be a powerful volcano with a wide, circular crater wall. Indeed, remnants of lava flow can still be seen on the Baru Beureum route. From the end of the Bandung toll road at Cileunyi, follow signs for Sumedang or Cirebon and take a left turn up the hillside at UNPAD University in Jatinangor. Follow the road for perhaps five minutes. You need to take a right turn just before the Kiarapayung West Java Scout Area, and a second right before a sharp left turn under a green entrance. From here it is a bumpy kilometre or so of farm track. The Baru Beureum trailhead starts near some buildings and a warung located 1,160 metres above sea level and there is enough space for 2 or 3 cars to park. Just behind the warung is a large grassy camping areas popular with local students at weekends.
Follow the trail behind the warung, cross the little stream and head straight up the steep, slippery trail through scattered pine woodland. After rain the trail is particularly difficult so it may be a good idea to take a walking stick and perhaps even some gloves just incase. Thankfully there is very little litter to be seen on the trail which is a great sign. At about 1,395 metres above sea level the trail turns to rock which would appear to be the remnants of an ancient lava flow from the time when Manglayang was a powerful, erupting volcano. At around this point, listen out for monkeys in the forest to the right of the trail.
Looking back down the trail you will see an impressive panorama of farmland and mountains, notably the Kareumbi range (Gunung Kerenceng) and the small Gunung Geulis to the right. At an elevation of approximately 1,548m is the first obvious place on the trail used by campers but if you are spending the night on the mountain it is best to press on to the eastern summit. Soon you will see the highest peak of Manglayang to the right of the trail before reaching a junction at 1,600m just below the eastern summit. A right turn here is a short cut up to the true summit but if you miss the eastern top you basically miss the finest views anywhere to be found on Manglayang.
From this junction it is less than ten minutes to the eastern top (1,650m) where you may well meet some local campers admiring the fine views over the eastern end of the Bandung plains and neighbouring mountains. The view of Bandung city is also excellent and you may see one or two aeroplanes taking off and landing. At the southern end of the ridge the trail leads back down to the Jantinangor via a longer, lesser-used trail. After enjoying the views, follow the ridge northwest towards the forested summit of Manglayang (1,835m).
It is just over 30 minutes to get to the large, flat top which offers no views yet is a pleasant place to sit and rest. There is also a supposedly ancient grave at the top along with several summit signs on trees made by local hiking clubs. You may even find campers up here but the majority prefer to stay near the views at the eastern top. The Bakosurtanal map lists this top as being 1,817 metres high, with a higher top being 250 metres further north (1,824m). However based on GPS data, this is indeed the summit at around 1,835 metres.
From the summit, a trail leads down to the left in the direction of Batukuda (‘stone horse’) trailhead and camp area (1,150m) and if you prefer to make a traverse then you can continue this way (estimated time 3 hours to civilisation on the other side of the mountain) but the majority will wish to return the same way to their vehicle by the warung which takes just over 2 hours. Take extra care on the steep descent as it is very easy to fall over, especially during the rainy season. You can wash your hands in the small stream before enjoying some gorengan (fried food) at the friendly warung. We suggest you pay a little extra at the warung to says thanks for leaving any vehicles nearby.
A third route from further west starts at Curug Cilengkrang waterfall (1,060m). This leads up via a different, western ridge and does not meet the other two trails until the summit.
Bagging information by Gita Saraswati (March 2012), updated by Dan Quinn (November 2012)
Nominated as a Spesial by Gita Saraswati.
Trail Map
For a high quality PDF version of this and other trail maps, please download from our Trail Maps page.
Practicalities
- Getting there: For domestic flights from or to West Java, such as the airport in Bandung, we recommend Baolau. There are 2 routes that are normally used. First from Jatinangor (Unpad University) and Batukuda in Cileunyi. I took Jatinangor route. From Jakarta simply take the bus from Pasar Rebo, which leave for Garut / Tasikmalaya via Cileunyi. Alight at Cileunyi intersection which only cost you 26k. From Cileunyi take angkot to Jatinangor / Unpad University, from there you can take ojek (or walk 2km). You can either take ojek right at the beginning of the trek or the last warung as reference which will cost you 25k or stop at the broken road which cost you only 10k (need 1km extra walk to get to the last warung or entry point of the trek).
- Guides and GPS Tracks: Want a PDF version for your phone? Looking for a guide? Need GPS tracks and waypoints? Gunung Manglayang information pack can be downloaded here.
- Trip planning assistance: Would you like Gunung Bagging to personally help you in arranging your whole trip? Please contact us here.
- Permits: No need for an official permit if you start from Jatinangor.
- Water sources: There is small stream near the Baru Beureum trailhead warung where you can fill your bottle before ascending. No more water sources during the trek (even on top).
- Accommodation: Try the Booking.com map above or use this link to search for suitable hotels, homestays, resorts and apartments for your trip.
- We recommend Safety Wing as travel insurance for overseas travellers and tourists hiking up to elevations not exceeding 4500 metres.
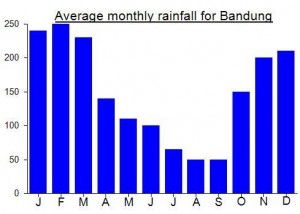
Local Average Monthly Rainfall (mm):
Location
Click on the blue arrow ![]() (top right) to see your current location on the map
(top right) to see your current location on the map
I would not recommend this mountain for a newbie. Because the trek is steep, rockies, dusty if dry, slippery if raining. Mystically bugging. The view from the peak is a closed view.
–update sept 2015–
The end of the dry season made this steep trail particularly dusty.
The hike is not extremely long nevertheless, i would not recommend it for a first time.
To help you to find the location, here is the Google-Maps location point :
https://www.google.com.my/maps/@-6.8868341,107.7645716,17z?hl=fr
If you do not have your own transportation, you can from bandung city take a bus from Arnes-Shuttle. They drop you by Unpad where you can get an Ojek 🙂
(take his phone number for your way back, or hitch hike. Friendly locals)
The hike is 2h30 to go (including lunch break) and 1h45min to go down.
This has to be one of the most accessible hikes in Indonesia because the trailhead is less than 30 minutes from the end of the Bandung toll road.
Myself and companion set off yesterday morning from Jakarta at 3am and were hiking by 6am. Lots of friendly local students camping near the warung, an a couple of hunters with rifles descending from the eastern top. It was a tough and slipperly couple of hours straight up the mountainside to the eastern top and the weather didn’t look so good at first. However, just as we arrived at the eastern top the sky turned a bright blue and we were rewarded with a magnificent panorama (and lots of local girls complimenting us on our big, pointy, Western noses).
The true summit itself was also a pleasant place to have a rest and a bite to eat before descending. A perfect, short hike – we were back in Jakarta by 3pm. Definitely best to start out as early as possible during the rainy season as there were torrential downpours by around 1pm.
A recommended first hike for those who haven’t done any peaks in Indonesia before (but your knees may feel it the next morning).